Telling Your Story
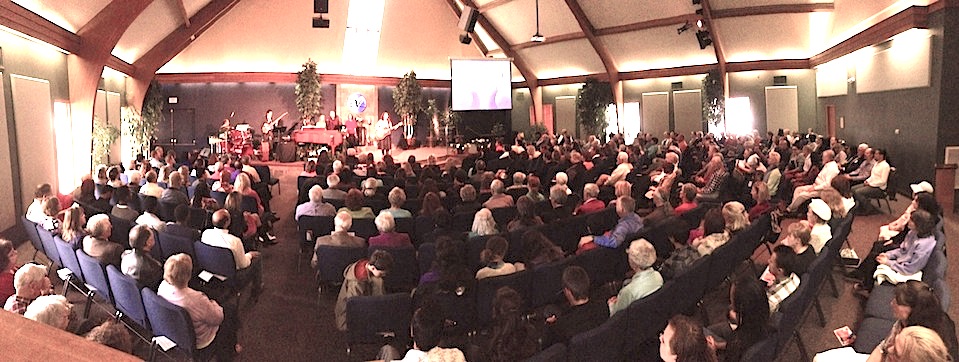
This teaching changes lives! Your Center has impacted and transformed many lives and it is important to capture these stories. Many people in your congregation that were responsible for creating what your Center is today and who you are right now won’t be here forever. In 20 or 30 years, who is going to know what we were doing right now in the future? It is important to capture what is happening to keep an ongoing history.
Are you organized? What is the current state of your archives? How can we assist you with getting to your desired state of creating a digital representation of your history?
- Stuff in boxes?
- Stuff that needs to be cleaned up?
- Is it lost in someone’s basement, on someone’s phone, on someone’s computer—somewhere??
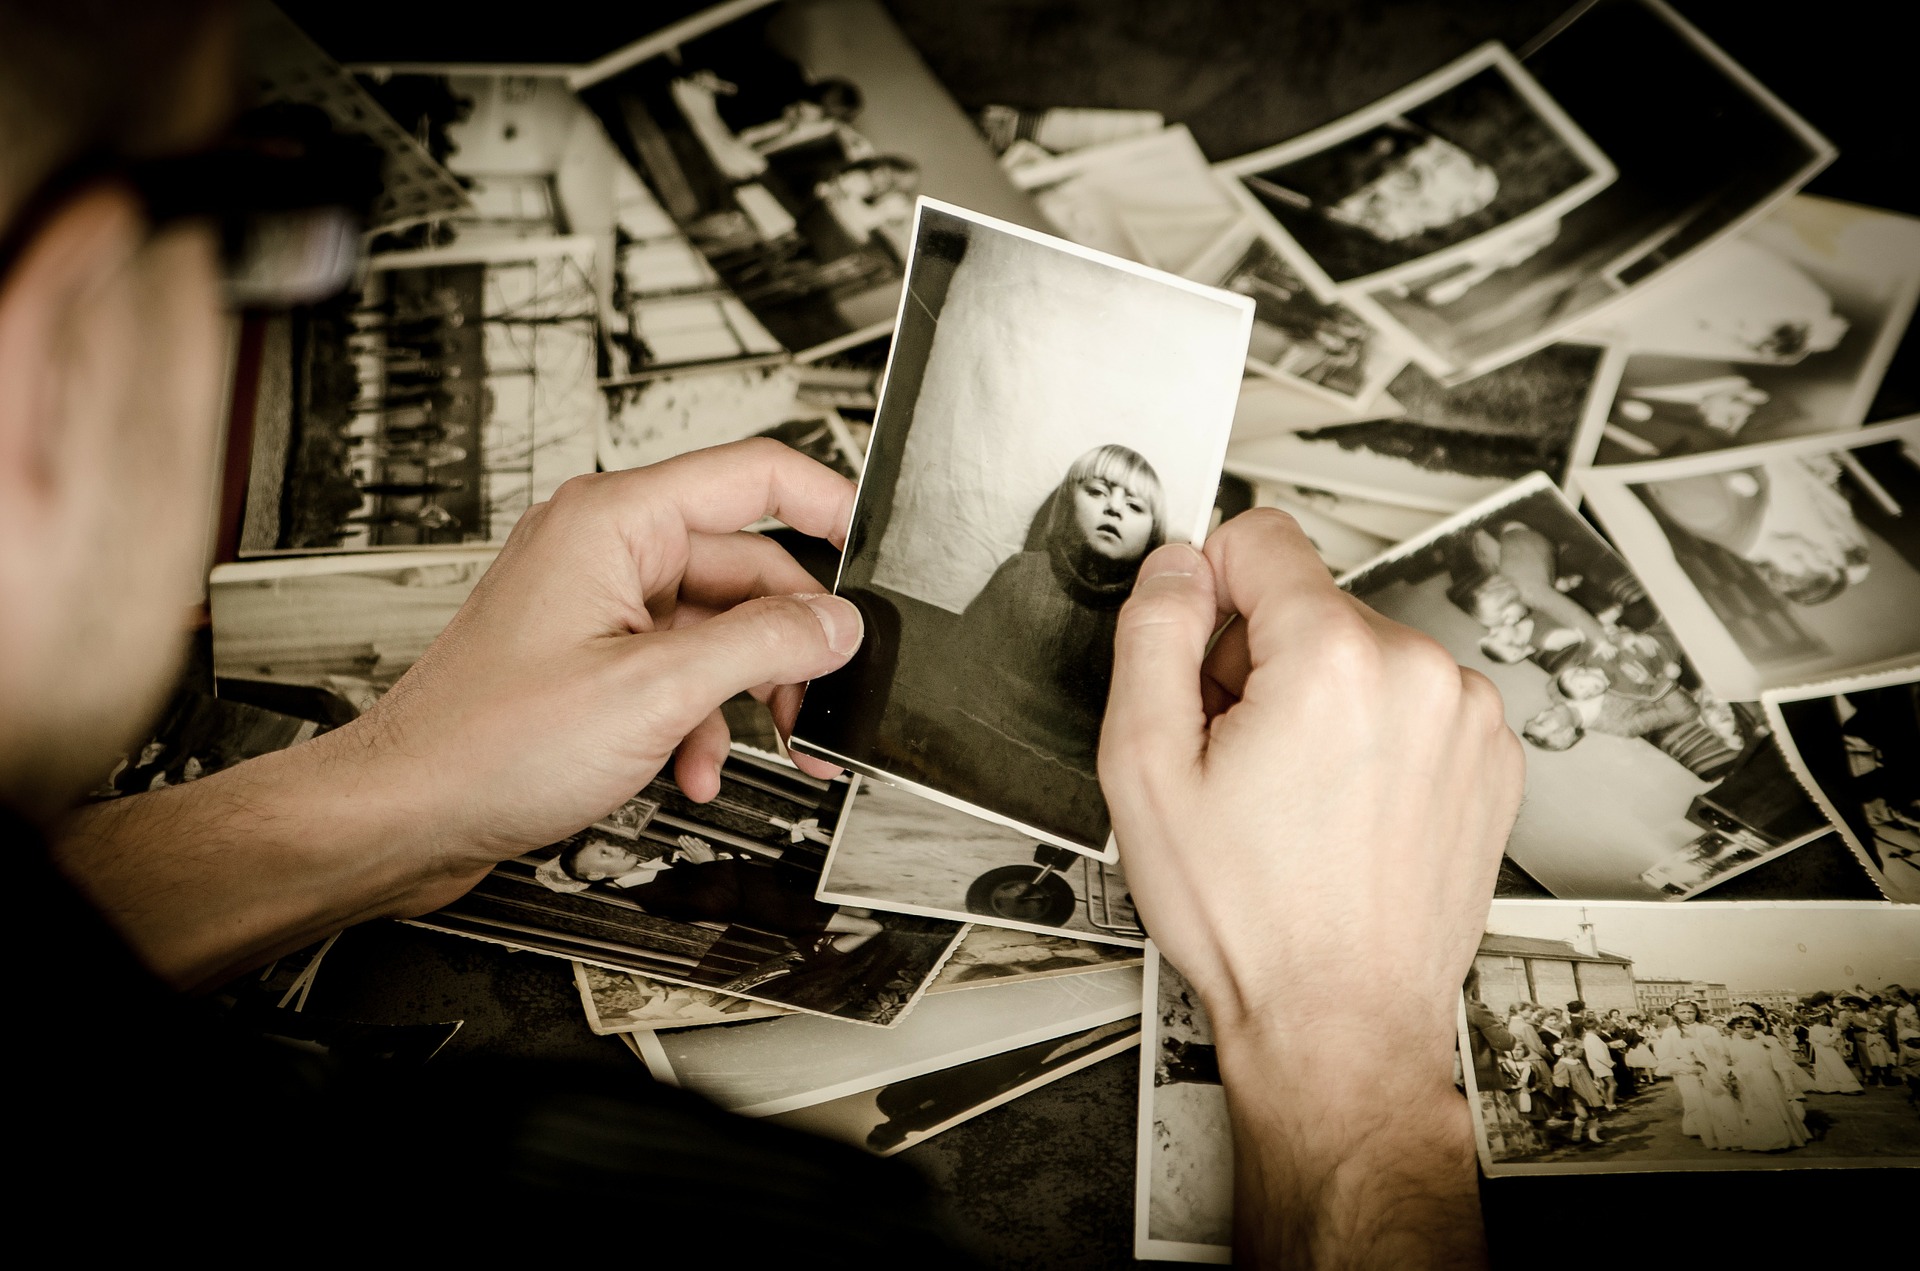
From just getting started to the finished project–and everything in between–here are all the steps you will need to capture lasting memories and share them with the world.
- Choose the story
- Choose how you want to tell it
- Choose your team
- Choose the story
What is important about your Center that you would like others to know from the founding to today?
- When was your Center founded?
- Who was the Spiritual Leader?
- Who was the initial Board of Trustees?
- First Practitioners?
- Other founding members?
- What location did you initially meet?
Other benchmarks:
Annual meeting: Take information from your “Year in Review” Annual Meeting to start collecting key benchmarks of your history.
- New buildings/locations?
- New ministers?
- New practitioners?
- New direction?
- Classes offered?
- What groups did you have (Youth, teens, singles, outreach, seniors, etc.)
- Major events?
- Guest speakers?
Each year at the annual meeting take a photo of:
Your outgoing Leadership Council and your Incoming Leadership Council; Your Ministers, Practitioners, and Volunteers.
Capture number of members and number of volunteers
How present it?
What elements you want to include?
Video?
Narrative story?
Interviews?
Website with photos/stories from this year?
Note: Stills from project can be used for newsletters, promotional material, on the website, etc.
Most important person: Coordinator/Producer to keep the project organized and moving forward.
Potential Roles: Camera operator, audio person, schedule coordinator, archivist to collect and organize content, etc.
Note: One person can do multiple roles.
Video, audio (microphones), software, photos, lighting, backdrop
Document:
Where is your audience: Internal? External? Both (Ideal)
Copyright music, production music (RULES, LAWS)
Livestream—videos being pulled for using copyright music
Musicbed. If off a CD, busted. Creative Commons (free places, links. www.pond5.com). Music released for use. Permissions. Certain codes in video that show you have permission to use music.
BEST OPTION:Create own music for video/audio software.
Software:
Sample Timeline:
Backwards timeline: Figure out when is your event and back up 6 months to a year to plan it.
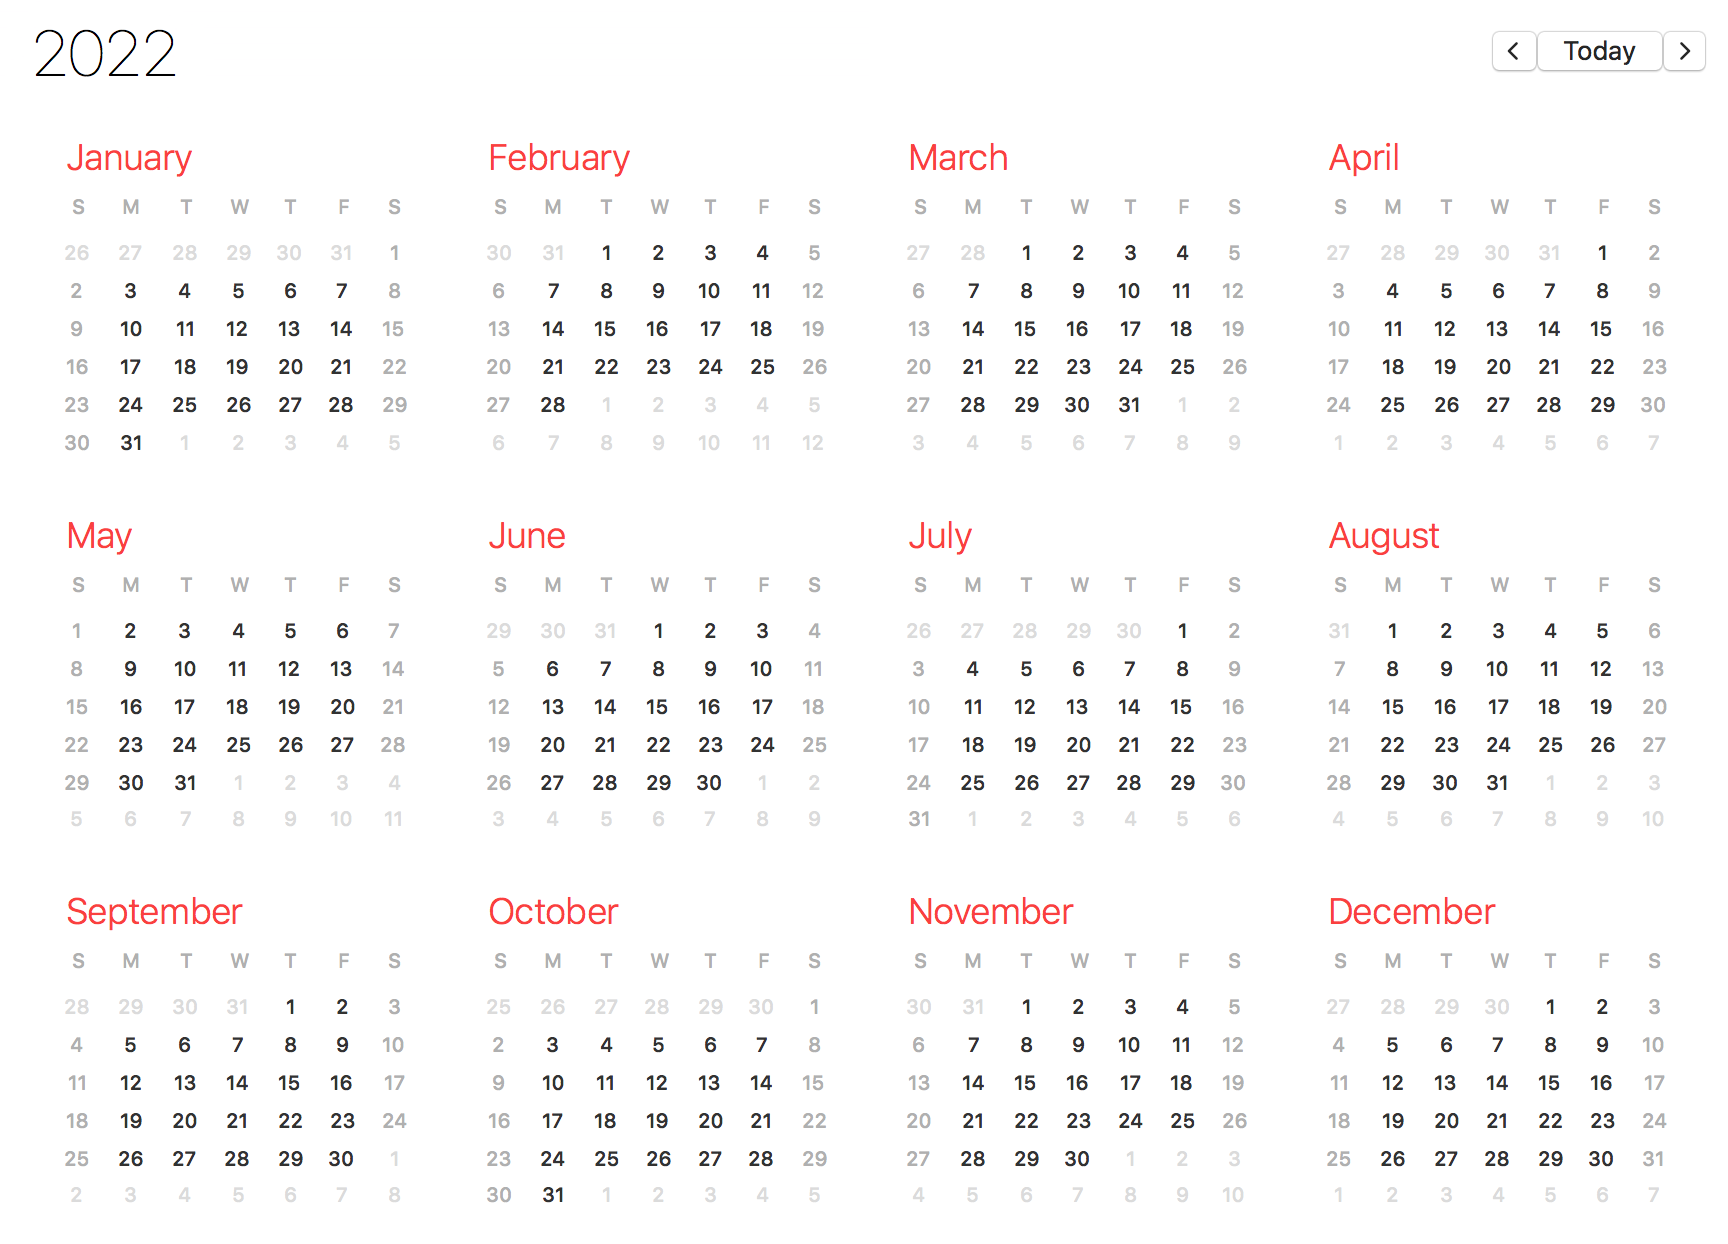
- Need a lead point person to guide the project (Producer)
- Determine team (who, how many people, roles)
Potential Roles: Camera operator, audio person, schedule coordinator, archivist to collect and organize content,
Note: One person can do multiple roles - Team helps to determine launch date
- Team helps determine benchmark dates
- Team determines equipment and software
- Archived materials organized and digitized
- Who are you interviewing?
- Set up scheduling of interviews
- What different elements do you want to include in the video?
- Music
- Narration
- First draft review
- Final release
Determining what you have and what you need
Do you have priceless photos? Do you have audios from a service from 1940’s that you want to be part of it? Do you have a church program from 50 years ago?
If you do, this media needs to be put in a form that can be used in the video.
Links:
- Getting Organized:
- Center Treasure Hunt! Find priceless bits of history that can be part of this presentation.
- Labeling files consistently (By event? By date? By group?) Easy to navigate and find what you need.
- Labeling photos (who, what, where, when, and WHY are they important?!) If you do not know these details, do your best to find out.
- Scanning pictures (include who, what, where, when and why details with the scanned photos)
Preparation:
- First and foremost, making your subject feel comfortable. Tune in to them. Have a bit of a conversation so you are not just jumping into the interview. For example, ask if the lighting is okay? The more comfortable the subject is, the better responses you will get.
- Have the subject say and spell their name on camera to ensure accuracy for graphic identification (it can save you HOURS), especially if you are interviewing multiple people.
- Listen to the responses before heading to the next question. Pause. Be Present. Ask more questions to get a fuller answer. The easiest one is, “Why?” such as “Why do you feel that way?” or “Tell me more.”
- Leave a few seconds at the beginning and ending of each responses to allow proper space to edit.
- When the subject responds: Have the subject repeat the question within the response. For example: Interviewer says, “Tell me about the history of your Center?” Subject: “The history of ______ Center…..” This will give you contents from which to edit so you are not left with fragments that are difficult to put together.
- If they don’t give you an answer with enough information to make it useable and you try a few different ways, move on and then come back later to the question.
- If at all possible, have a different person interviewing them than who is running the camera.
Getting Organized:
- Make sure you have good lighting.
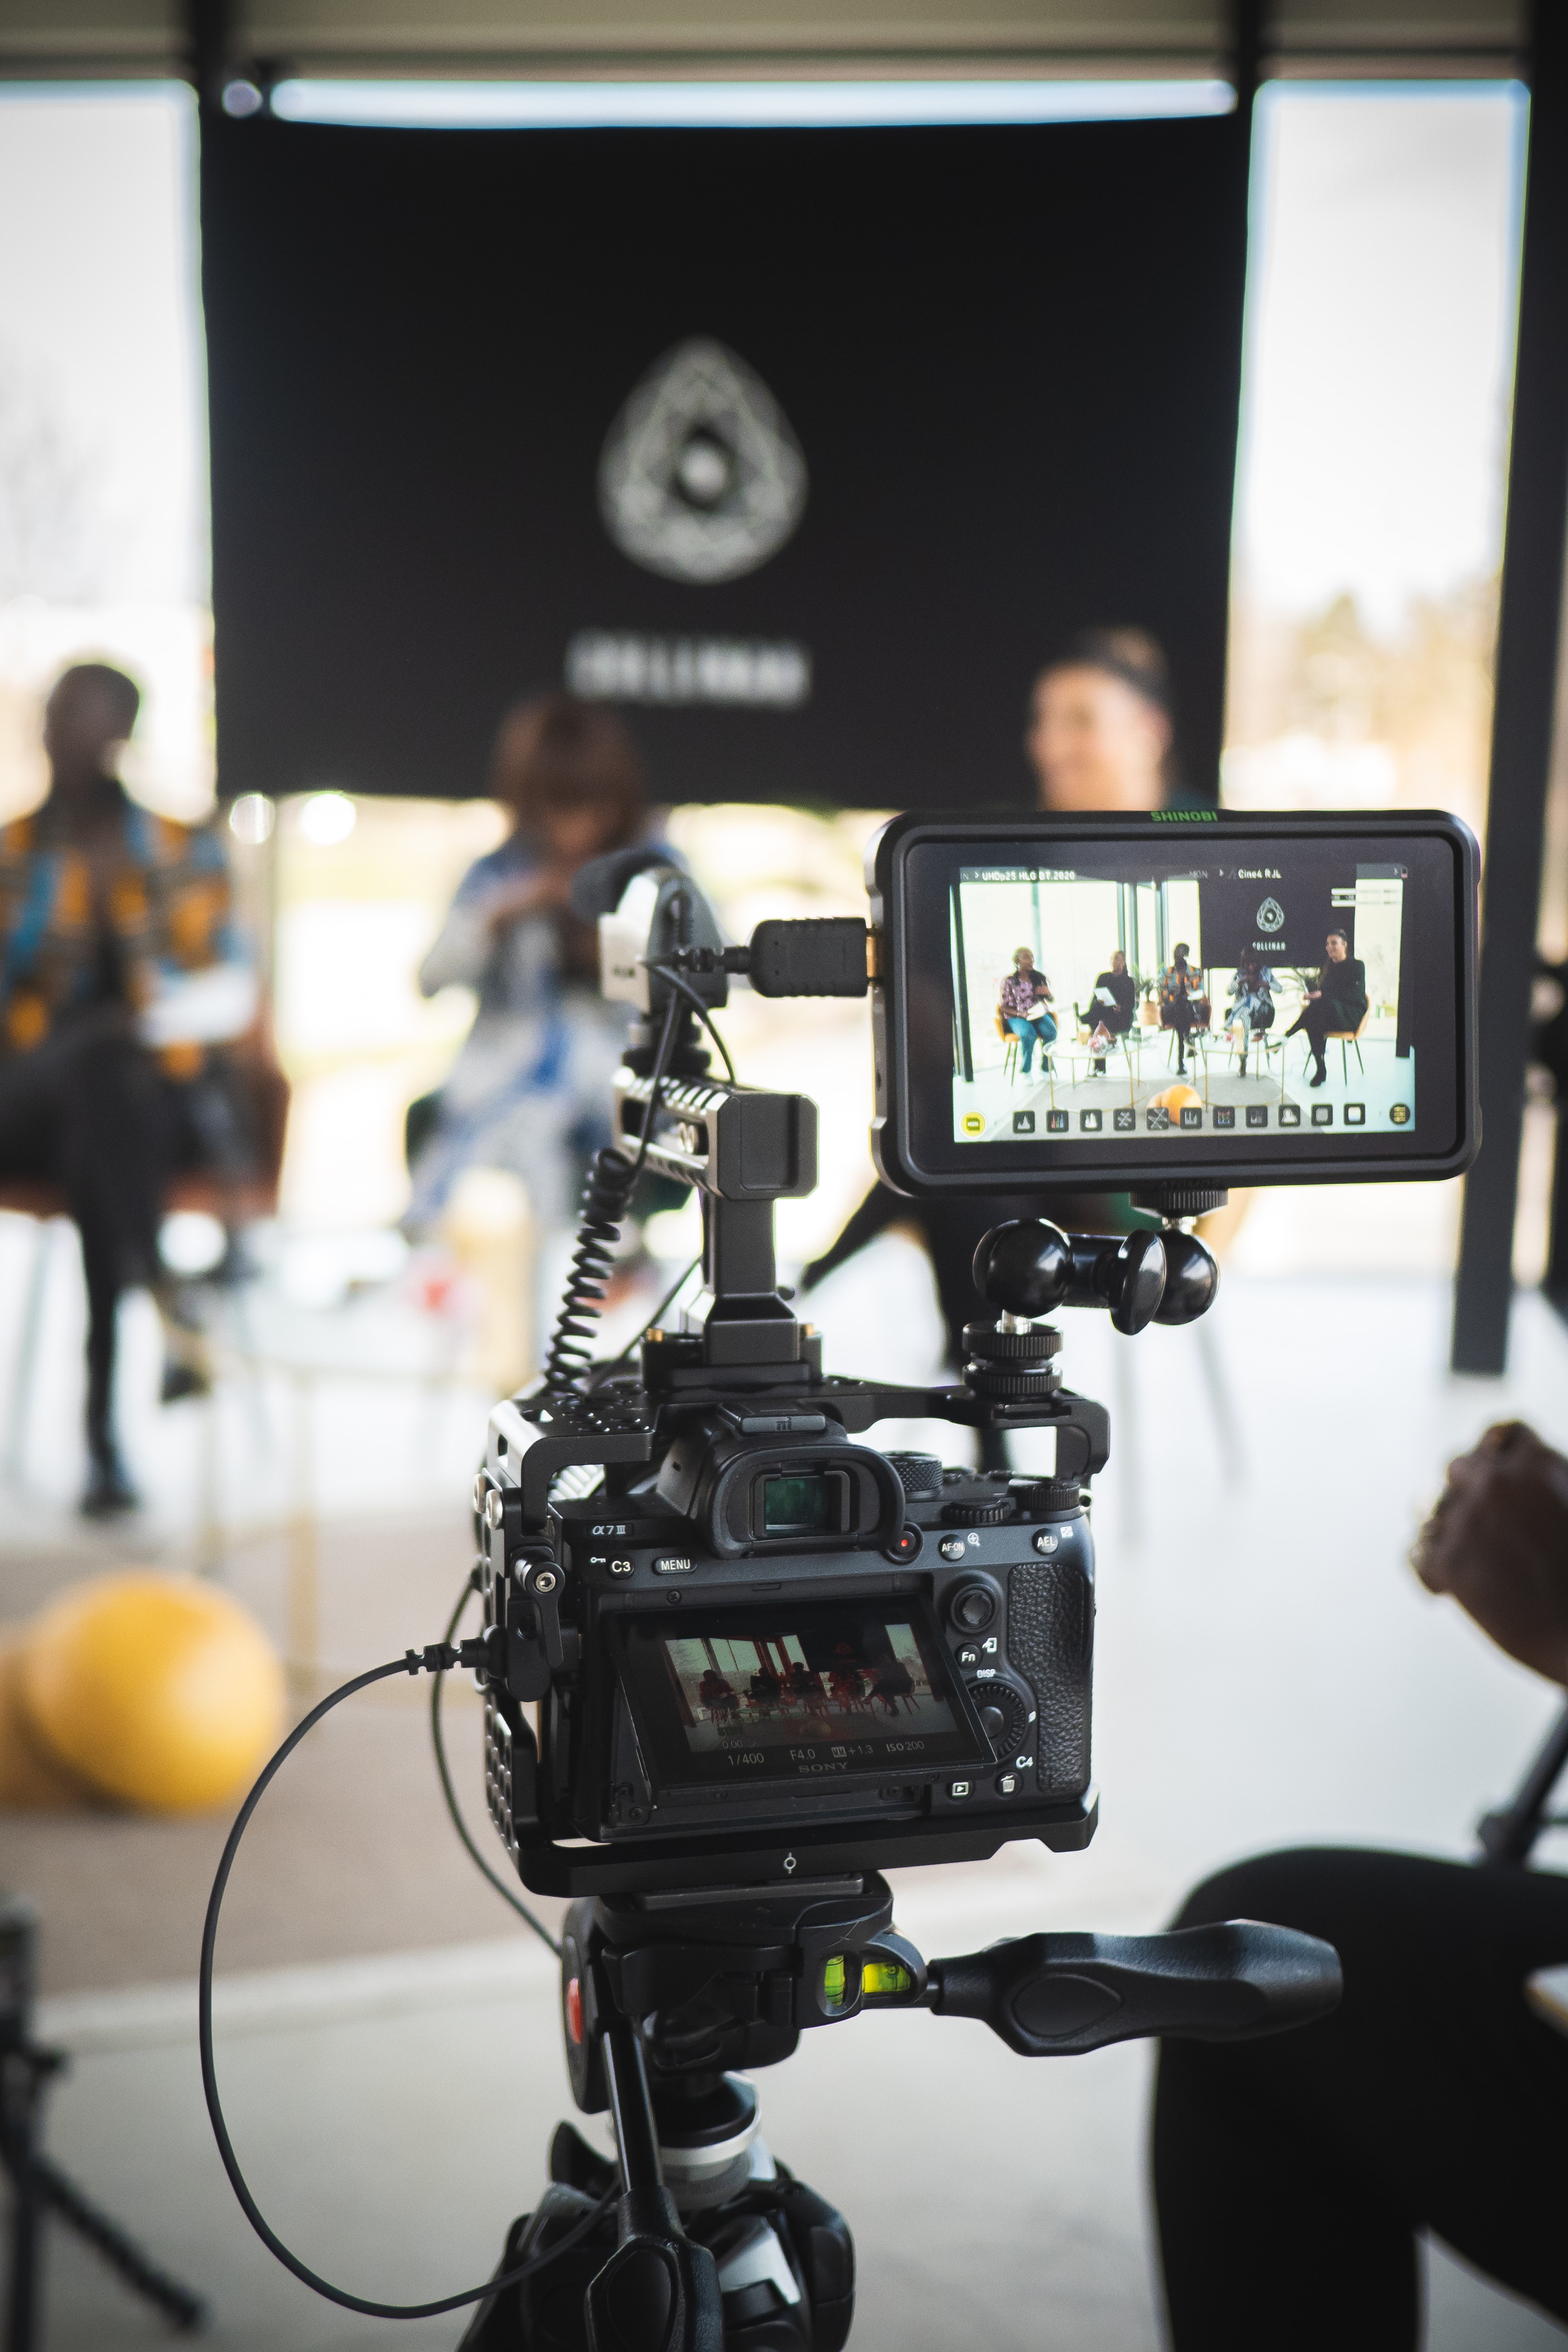
- Make sure you have good equipment (microphone, camera [that captures better video than a cell phone!], tripod [no hand-held video]).
- Good audio is SO important! It is so frustrating to try to hear the interview and you can’t understand the person.
- Have a background that fits the theme of the video (Example: You would not shoot a video for youth and family ministry in the sanctuary, you would shoot it in their special youth area).
- Coordinate the locations of the interviews–travel time, moving equipment, set up and tear down, etc.
- You want the location to be QUIET: No fans, no people traffic, road noise, lawn mowers, etc.
- Have your batteries charged for the camera and microphone.
- Make sure you have enough SD cards or hard space to get through the interview.
To give you a picture of what you can aspire to, take a look at some of these videos on different aspects of different churches and Centers. How you come to producing your video varies in style, quality, and content. It’s all up to you. It is you telling your story–and that is the most exciting part of highlighting and preserving your history through the evolution of your Center.
Fundraising:
History:
PR/Marketing:
Science of Mind Archives
and Library Foundation
100 Unity Circle South, Suite A
Lee’s Summit, MO 64086
Reverend Kathy Mastroianni
To donate to the Science of Mind® Archives and Library Foundation click the Donate button below.
